


Natural nail preparation should create the surface required by the selected coating system while preserving the plate. The professional question is not how much filing the nail can tolerate. It is what must be removed, what must remain and what signal means the technician has already done enough.
01What nail plate preparation should accomplish
Preparation may include removing previous product residue, controlling surface contamination, refining an uneven free edge and creating the surface condition specified by the gel system. It should not attempt to erase natural anatomy or make every nail look identical before coating.
Task-led and limited
Each pass addresses a visible, defined condition and stops when the product instructions and nail condition are satisfied.
Appearance-led reduction
The technician keeps filing to create a perfectly uniform matte surface, remove every ridge or compensate for previous lifting without diagnosing it.
The preparation stage sits inside the broader Russian Manicure process. It cannot be evaluated separately from assessment, product choice, structure and curing.
02Assess before choosing an abrasive
| Observe | Why it matters | Possible adjustment |
|---|---|---|
| Existing thickness and flexibility | Thin or flexible areas tolerate less mechanical reduction | Reduce contact, modify product choice or postpone |
| Grooves or pink areas | They may indicate previous localized thinning | Avoid further abrasion and document the condition |
| Residual coating | Product and natural plate require different removal strategies | Isolate residue rather than filing the entire surface |
| Lifting pattern | Location may point to placement, structure, curing or wear issues | Diagnose the system before changing preparation |
| Pain or sensitivity | Discomfort is not a normal preparation target | Stop, reduce scope and refer concerning symptoms |
03A controlled preparation protocol
-
Identify the exact material
Separate cured product residue, surface debris and natural nail. Do not treat all three with the same abrasive action.
-
Select the least aggressive effective method
Follow the coating manufacturer’s preparation requirements and use a tool intended for the natural plate.
-
Stabilize and keep the contact point visible
Support both hands. Use controlled movement and avoid hovering repeatedly over one localized area.
-
Inspect after each purposeful pass
Check thickness, residue and surface condition before deciding whether another pass has a reason.
-
Remove dust without adding abrasion
Clear the surface so it can be evaluated rather than filing through debris to find the endpoint.
04Choosing the tool, abrasive and movement
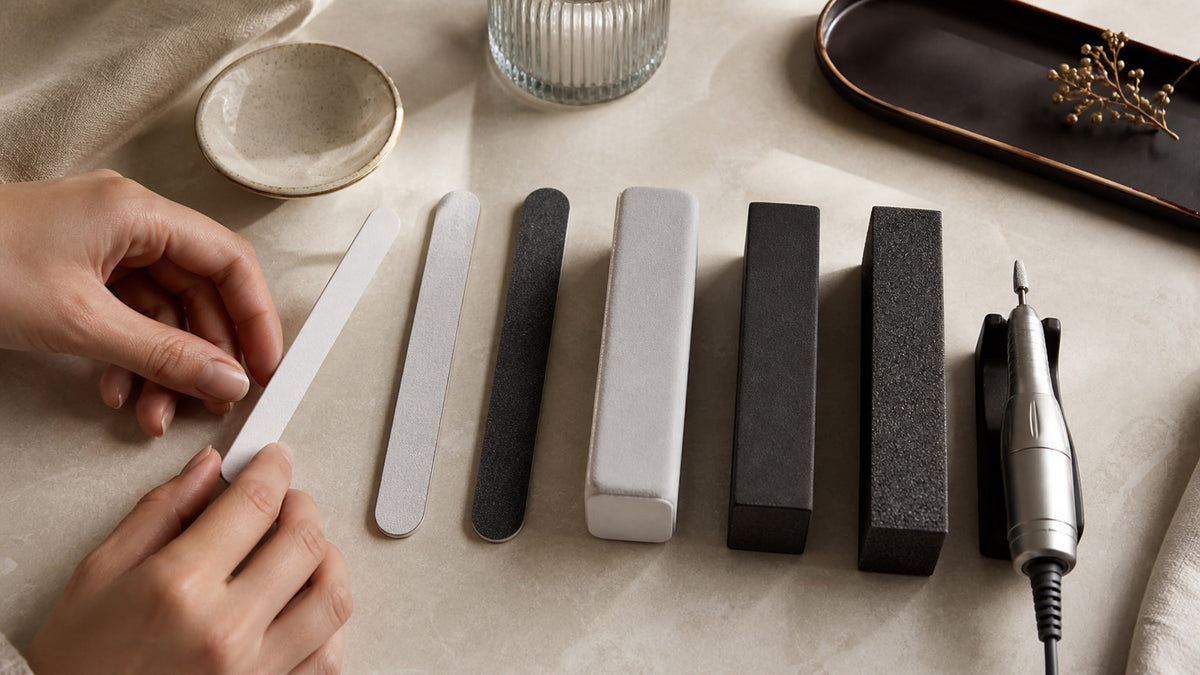
A hand file, buffer or e-file bit can all cause damage when the abrasive is unsuitable or contact is repeated. An e-file is not inherently aggressive, and a hand buffer is not inherently gentle. Consider the abrasive level, working surface, speed, pressure, angle and time spent over the same area.
- Use only tools specified or validated for natural nail preparation.
- Do not use bulk product-removal bits as unrestricted preparation tools.
- Keep pressure light enough to maintain tactile feedback and control.
- Avoid stationary contact and repeated passes without inspection.
- Clean or replace a tool when debris or wear reduces efficiency.
The guide to e-file bit shapes, grits and uses explains why profile and abrasive must be selected by task.
05Signs that the nail may be over-filed
- Visible grooves or uneven depressions
- Localized pink or red areas that appear during reduction
- New sensitivity, heat, tenderness or sharp pain
- Unusual flexibility compared with the surrounding plate
- Discomfort during primer, base or curing
- A repeating damage pattern in the same location across appointments
These signs call for less intervention, not a stronger coating applied automatically over the problem. Stop mechanical preparation and document what is visible. Nail technicians should not diagnose medical conditions. Persistent pain, separation, discoloration or other concerning changes require appropriate evaluation.
06Why more filing does not automatically fix lifting
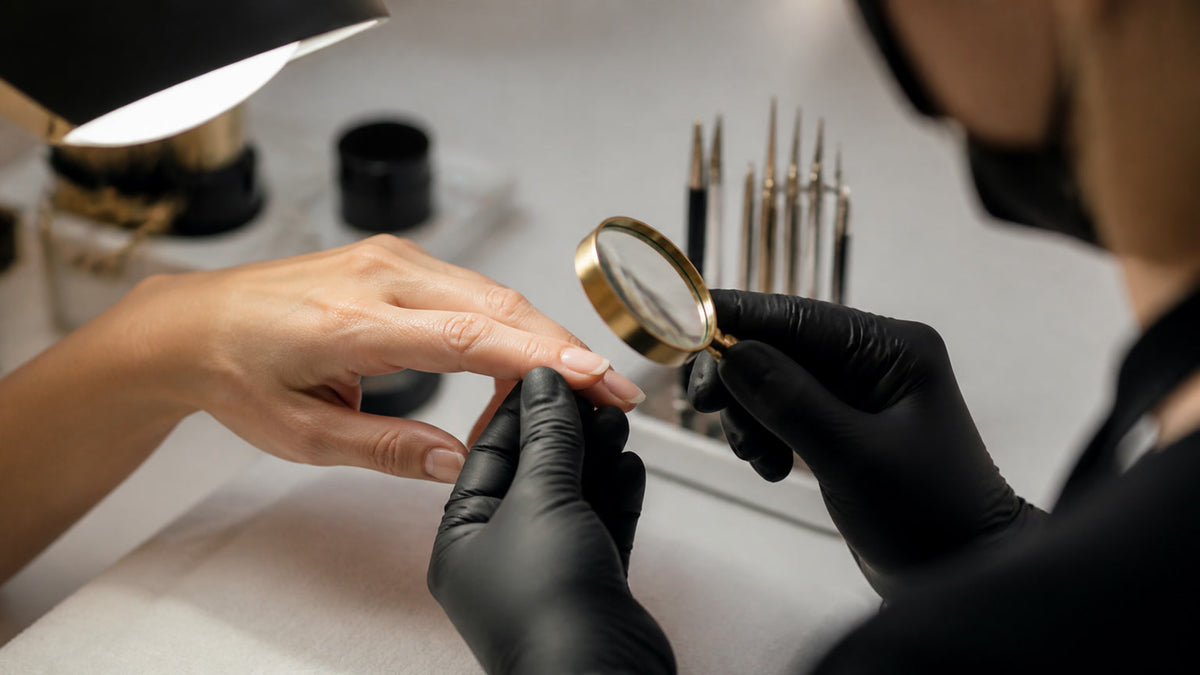
Lifting can involve dust, moisture, skin contact, incompatible product flexibility, poor structure, incorrect layer thickness, lamp mismatch, incomplete curing or stress during wear. Filing more aggressively may temporarily change the surface while weakening the foundation and leaving the true cause untouched.
| Lifting clue | Investigate before changing preparation |
|---|---|
| Near the cuticle | Residue, skin contact, flooding, growth and local structure |
| At the free edge | Length, impact, capping, product flexibility and wear |
| Through the stress area | Structure, thickness, cracks and maintenance timing |
| Across multiple clients | Product batch, lamp compatibility, curing and studio procedure |
See retention, aftercare and choosing a technician for the complete wear system.
07When the plate is already compromised
Lost nail layers are not restored by adding product. The thinned portion must grow forward, and growth time varies. Protect the area from repeated trauma, shorten or modify the service where appropriate and avoid promising that builder gel will heal the plate.
Do not continue a normal coating service over significant pain, active separation, suspected infection or unexplained changes. The safety guide on when Russian Manicure should be modified or postponed provides the broader stopping framework.
Place this preparation protocol within the complete professional Russian Manicure system. For a broader client-facing introduction to the method, start with what Russian Manicure is.
08Sources and further reading
Define clear stop points during preparation
Preparation is complete when nonliving tissue and surface contamination have been addressed according to the product protocol, not when the nail looks deeply scratched. Stop if the client reports heat or pain, if the plate becomes visibly thin, or if surrounding skin is cut or irritated.
Document the abrasive, speed, pressure and number of passes used during training. A repeatable light-touch sequence is easier to improve than preparation based on appearance alone. When retention problems occur, review contamination, skin contact, curing and architecture before increasing abrasion.
This article is educational and does not replace professional training, manufacturer instructions or medical advice. Nail technicians should not diagnose or treat nail disease. Practitioner observations are informed by Nailspiracy's Russian Manicure 360 curriculum and are separated from independent health sources. Reviewed August 2026.